For anyone juggling daily demands, minor aches and bruises can be a common nuisance. Whether you’re feeling the effects of an intense workout or simply seeking a natural method to ease everyday pains, Arnica Montana offers a time-tested solution. Let’s explore how you can create your own Arnica Cream, blending traditional herbal therapy with modern ingredients for soothing relief.
Why Arnica Cream?
Arnica is celebrated for its remarkable properties, especially in reducing inflammation and easing pain from bruises and minor muscle strains. Making your own Arnica Cream allows for a natural, effective addition to your wellness routine.
It is important to properly handle arnica and understand all precautions before proceeding.
Benefits of DIY Arnica Cream
Creating your own Arnica Cream at home is beneficial because you can:
- Customize the Potency: Adjust the strength to suit your specific needs and sensitivities.
- Ensure Purity of Ingredients: Control exactly what goes into your cream, steering clear of unwanted additives.
- Save Money: Homemade cream often costs less than commercial alternatives and can be made in bulk.
Ingredients for Your Arnica Cream:
- Carrier oil (such as avocado oil): Acts as the base for the arnica infusion, enriching the cream with vitamins and providing a smooth consistency.
- Arnica flowers: Utilized for their anti-inflammatory properties that help reduce pain and swelling.
- 1/2 cup shea butter: Offers a moisturizing base that enriches the cream’s texture.
- 1/4 cup coconut oil: Supports skin health and enhances the cream’s smooth application.
- Optional essential oils (15 drops): Add oils like lavender or peppermint for additional therapeutic effects and pleasant scents.
Steps to Make Your Arnica Cream
Preparing the Ingredients:
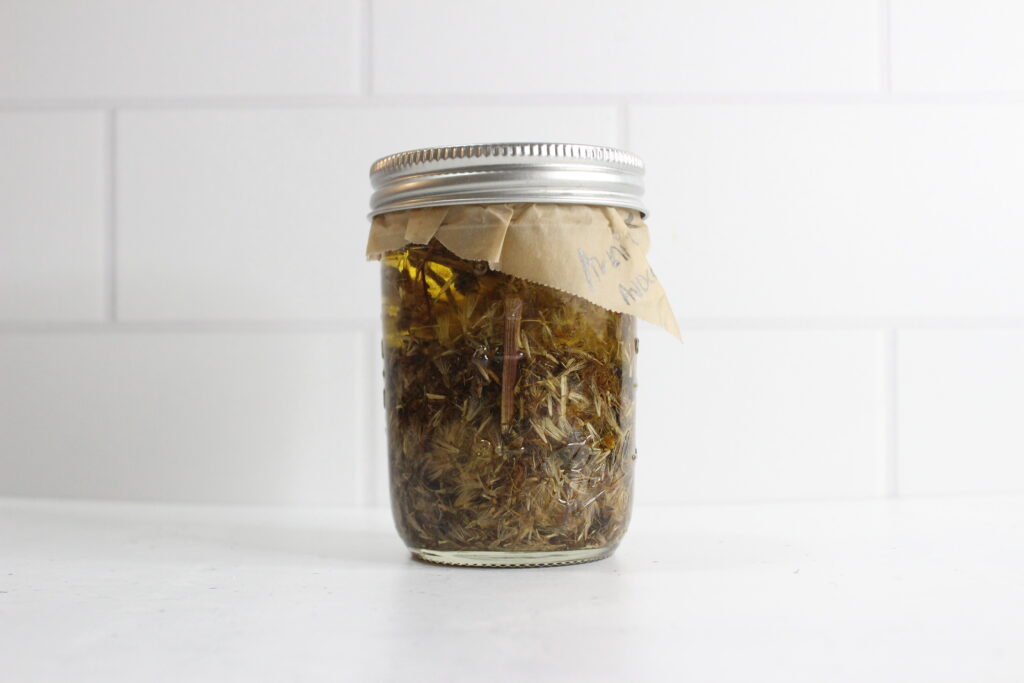
- Arnica Infusion: If you need some help and ideas on how to make the infusion, be sure to check out the article “How to Make Herb Infused Oil“.
- Melt and Combine: Melt the shea butter and coconut oil together, then mix in the arnica-infused oil. Allow the mixture to cool slightly before the next step.
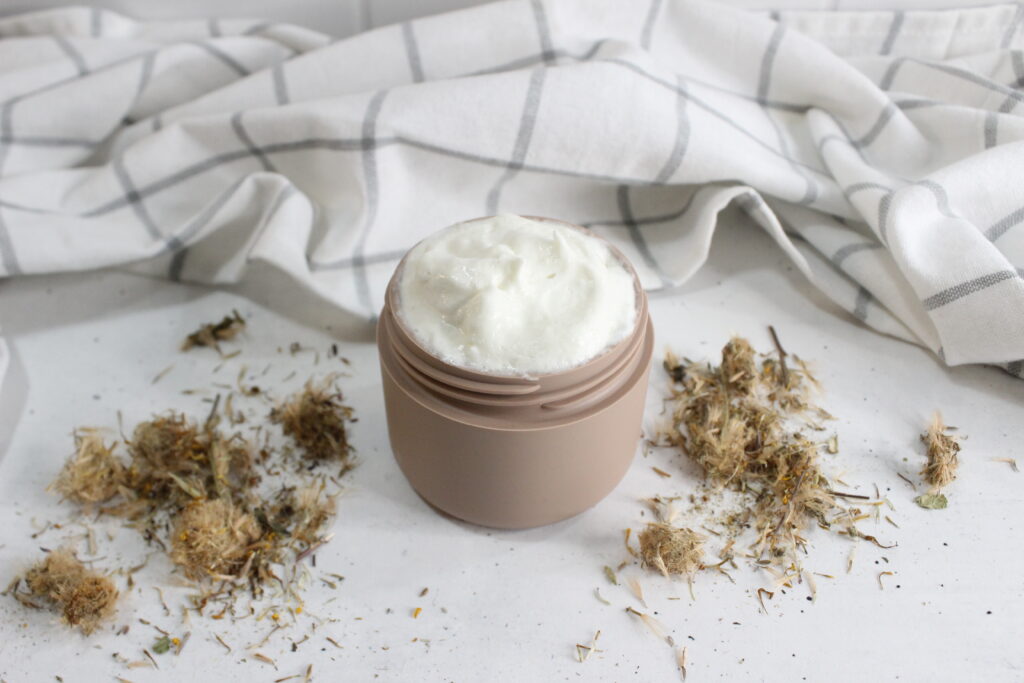
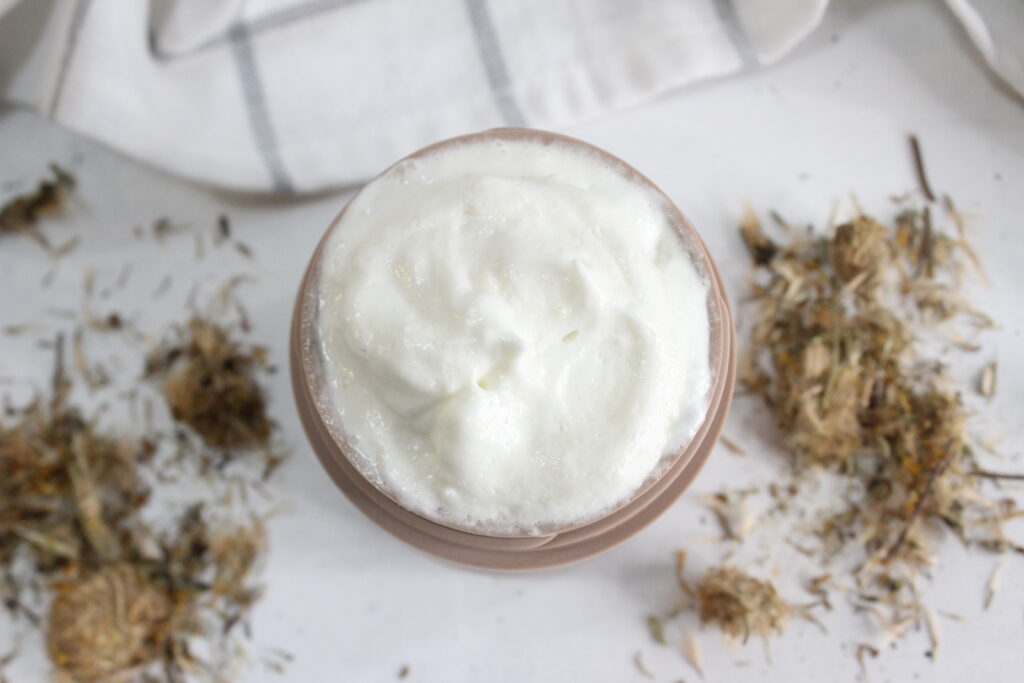
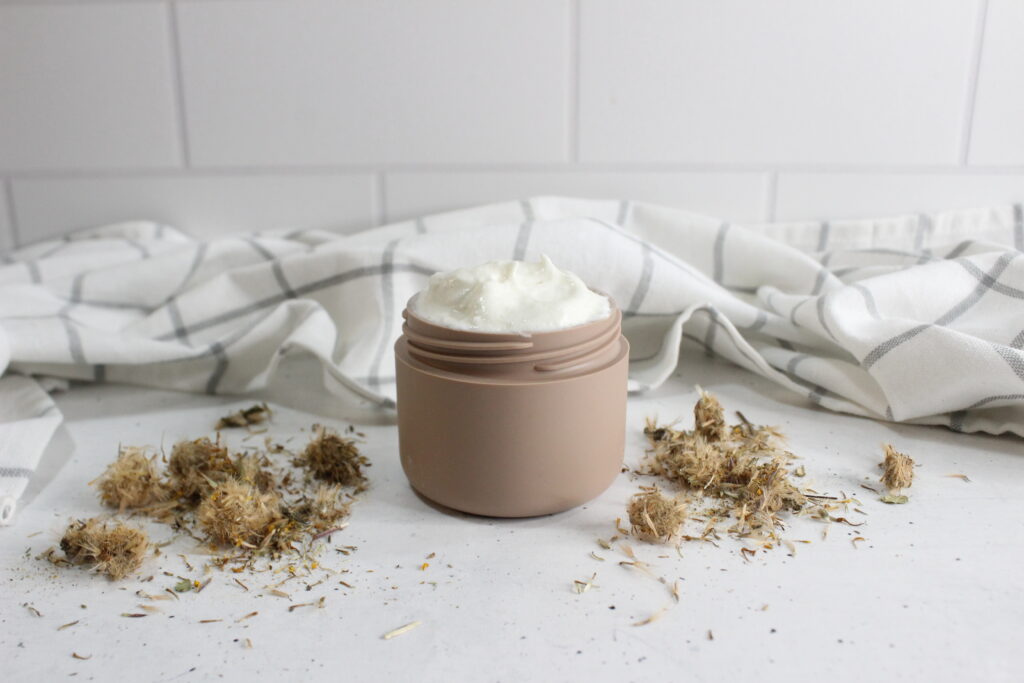
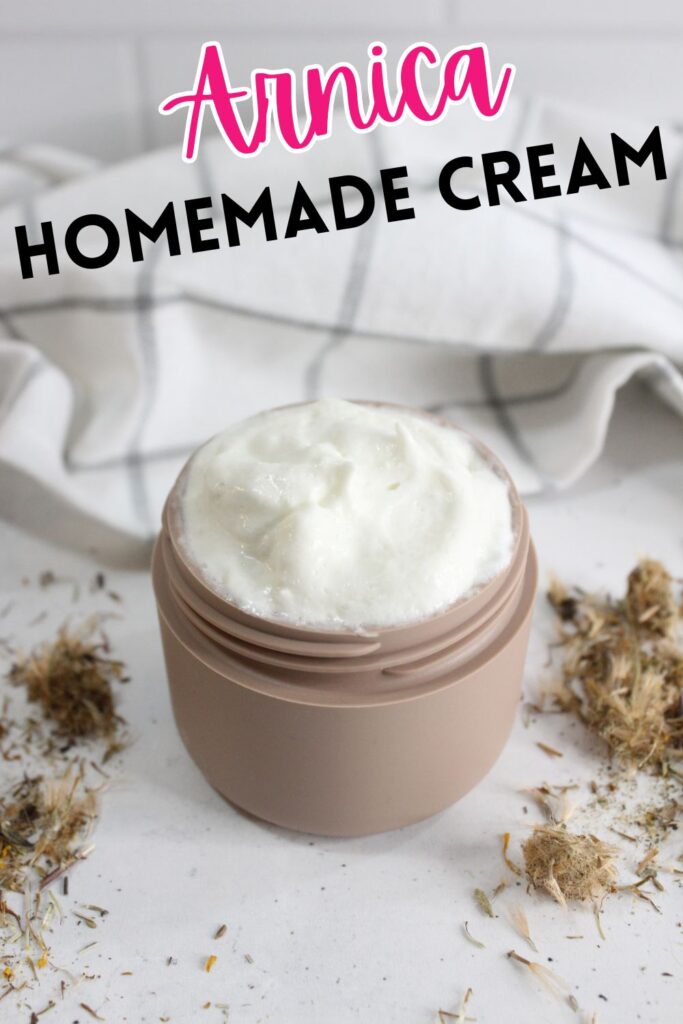
- Whipping the Mixture: Whip the cooled mixture using a hand mixer until it reaches a fluffy, creamy consistency.
- Incorporating Essential Oils: If desired, add essential oils to enhance the cream’s aroma and therapeutic properties.
Storage and Preservation
Store your homemade Arnica Cream in an airtight container in a cool, dark place. Proper storage helps maintain the cream’s effectiveness and can extend its shelf life up to six months. Check the cream regularly for any changes in smell or texture, which may indicate spoilage.
Conclusion
Creating your own Arnica Cream is more than a crafting project; it’s an investment in your health. This cream not only may provide natural and effective relief from everyday discomfort but also connects you with the age-old traditions of herbal remedies. Start making your batch today!
Disclaimer: These statements have not been evaluated by the Food and Drug Administration. The content of this article, provided by The Happy Body Project (Holistic Fit LLC), is for informational purposes only and does not constitute medical advice. It is not a substitute for professional advice, diagnosis, or treatment. Always consult a qualified healthcare provider with questions about medical conditions or new products. If you suspect a medical condition, seek immediate attention. Do not delay or disregard medical advice based on this information. Suggestions for homemade products are for informational purposes only and should be made and used at your own risk. Reliance on any information in this article is solely at your discretion.