
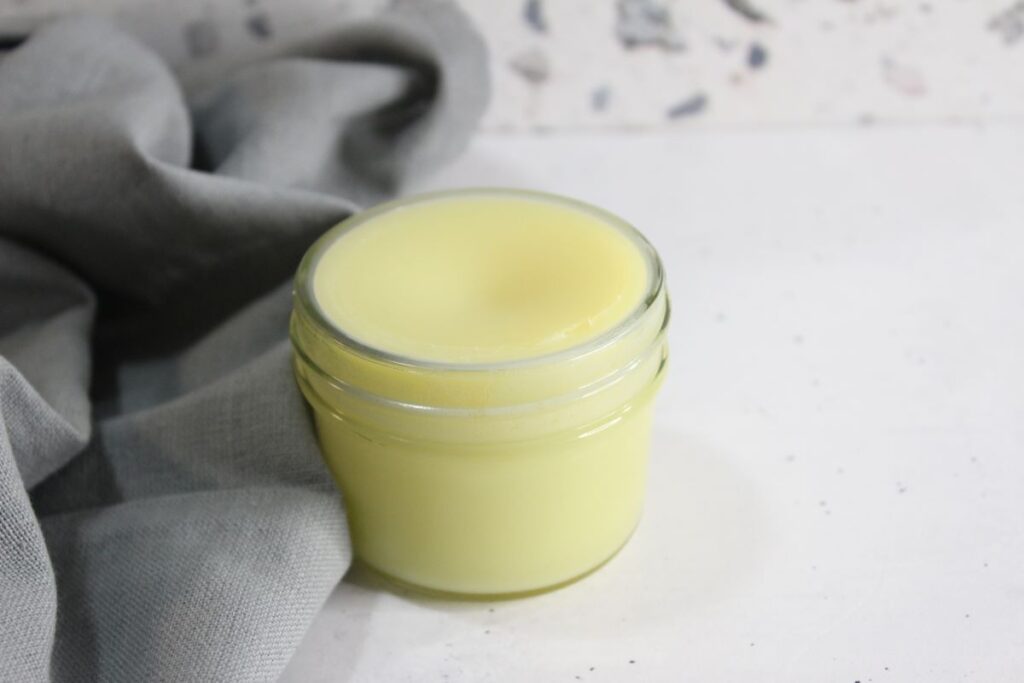
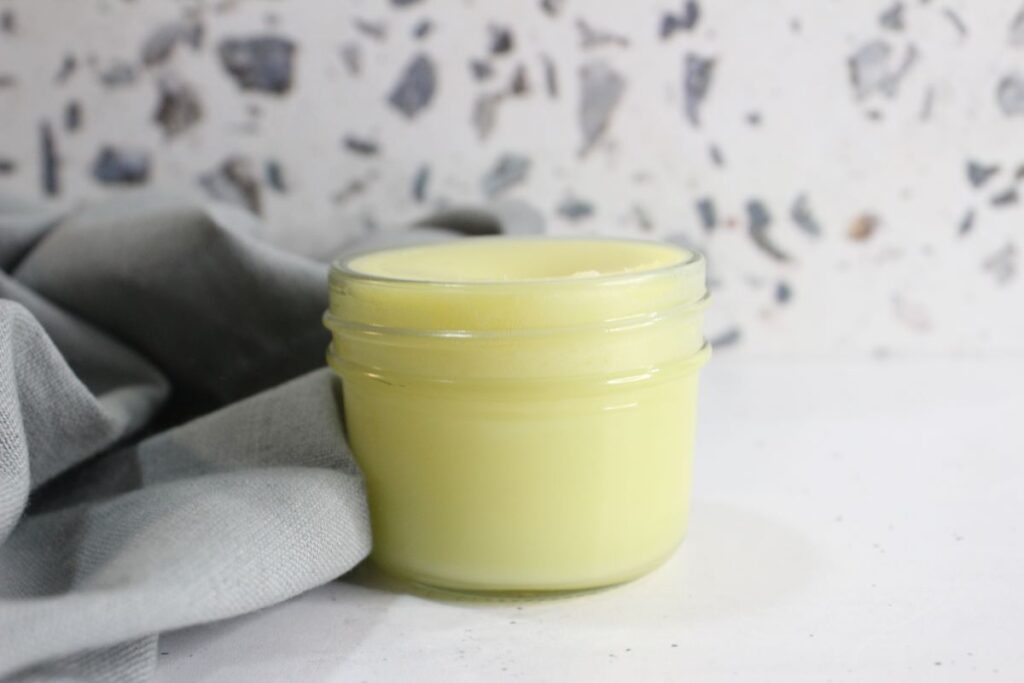
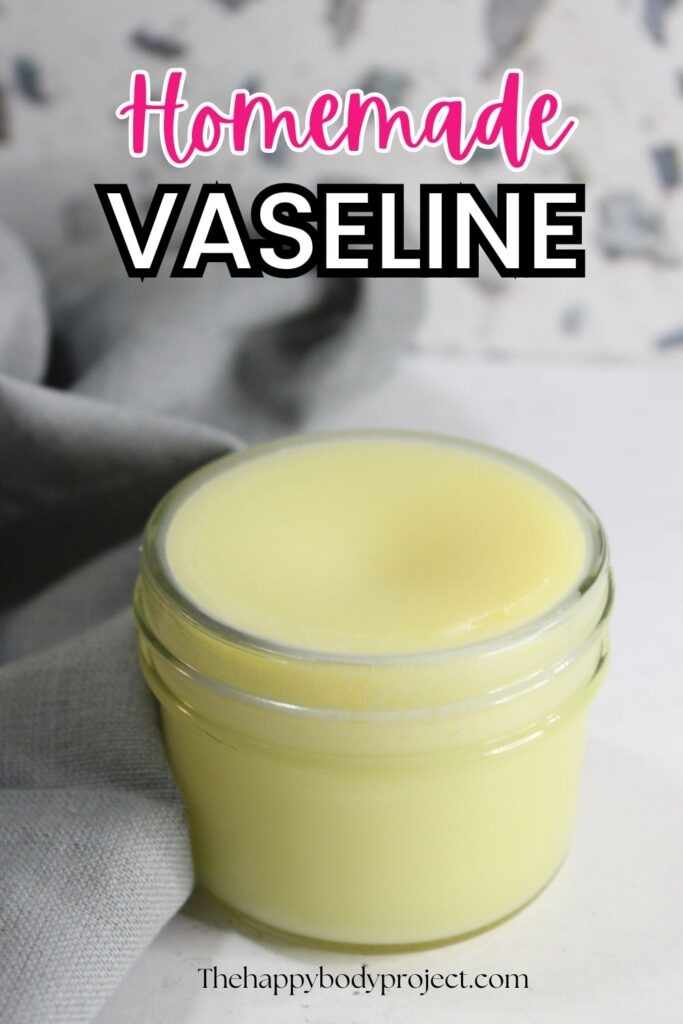
Creating your own natural Vaseline at home is not only simple but also a healthier alternative to store-bought versions. This DIY version uses all-natural ingredients, making it a fantastic choice for those looking to avoid additives found in commercial products. With just a few ingredients, you can whip up about 4 ounces of your own skin salve that’s versatile and gentle.
Ingredients You’ll Need:
- 1/4 cup Coconut Oil (acts as a natural moisturizer)
- 1/8 cup Beeswax (helps to solidify the mixture)
- 1/4 cup Olive Oil (used as a carrier oil and skin conditioner)
- 20 drops Essential Oils (optional, for fragrance or added therapeutic benefits)
Step-by-Step Guide to Making Your Homemade Vaseline
- Combine and Melt: Start by adding the olive oil, coconut oil, and beeswax to a glass jar. Melt the mixture in the microwave, stirring every 30 seconds to ensure it melts evenly and to prevent overheating.
- Cool and Customize: Once everything is melted and well mixed, remove the jar from the microwave and let it cool slightly. This is the perfect time to add your choice of essential oils if you’re using them. Adding essential oils while the mixture is not too hot preserves their therapeutic properties.
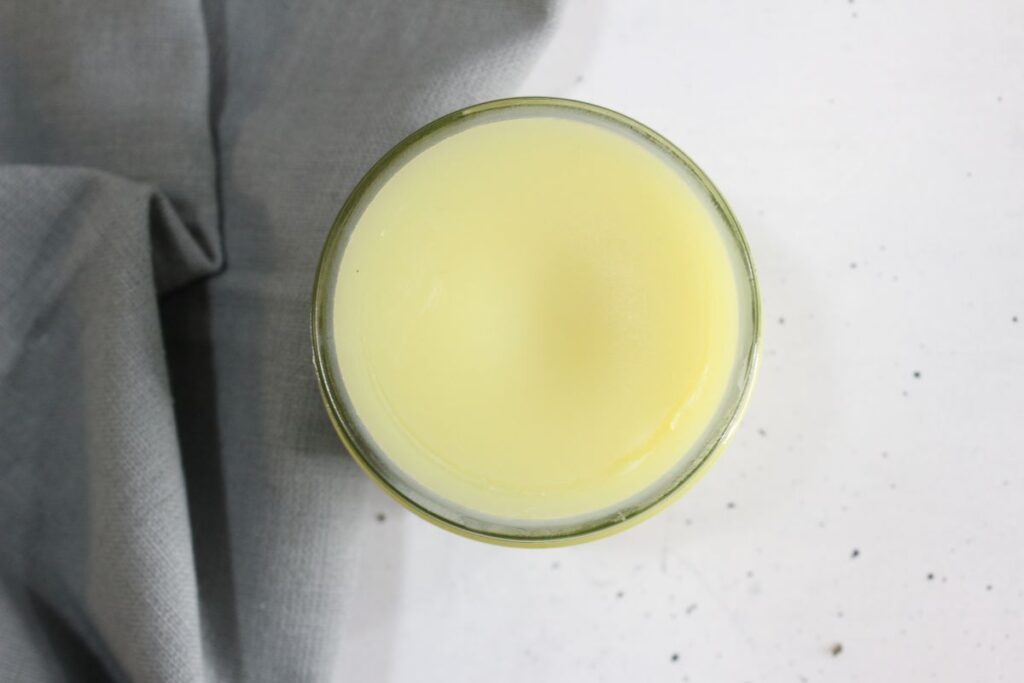
- Set and Store: Pour the slightly cooled mixture into your chosen storage container. Allow it to harden overnight without covering it. This step is crucial as it lets the mixture set properly without trapping any moisture.
Tips for Perfect Homemade Vaseline
- Choosing Essential Oils: If you prefer a product close to traditional Vaseline, skip the essential oils. For added fragrance or benefits, lavender or tea tree oil can be excellent choices.
- Substituting Oils: While I used olive oil for its skin benefits, feel free to substitute it with any other carrier oil like almond oil or grapeseed oil for different skin benefits.
Benefits of DIY Vaseline
Using your own homemade Vaseline can be incredibly satisfying. Not only do you have full control over the ingredients, but you also create a product that’s free from the petroleum used in commercial versions. It’s perfect for chapped lips, dry skin, or even minor scrapes and burns.
Storing Your Homemade Vaseline
Once solidified, keep your homemade Vaseline in a cool, dry place. Ensure the container is sealed properly to maintain the salve’s freshness and effectiveness. Properly stored, your DIY Vaseline can last for several months.
This DIY project is not only a crafty endeavor but a practical addition to your daily skin care routine. Give it a try and enjoy the benefits of a completely natural product that’s tailored to your needs!
Explore More DIY Personal Care Products
If you enjoyed making your own Vaseline, you’ll love exploring the wide range of other homemade personal care products available on our website. From nourishing lip balms to luxurious body butters and natural deodorants, we have detailed guides and recipes to help you expand your DIY skincare repertoire. Each recipe is designed for easy creation and customizable options to suit your personal care needs.
Check out Homemade Lip Balm, Natural Body, and Homemade Shampoo for more fun and effective skincare solutions you can make at home. Or check out our entire collection of homemade products here!
Disclaimer: These statements have not been evaluated by the Food and Drug Administration. The content of this article, provided by The Happy Body Project (Holistic Fit LLC), is for informational purposes only and does not constitute medical advice. It is not a substitute for professional advice, diagnosis, or treatment. Always consult a qualified healthcare provider with questions about medical conditions or new products. If you suspect a medical condition, seek immediate attention. Do not delay or disregard medical advice based on this information. Suggestions for homemade products are for informational purposes only and should be made and used at your own risk. Reliance on any information in this article is solely at your discretion.